

How to connect a Wasabi bucket to file.rocks

Connecting Wasabi to file.rocks is the same idea as S3, R2, or B2, with a different console. You make a bucket, make an access key, and paste five fields.
If you already have a bucket and just want cheap storage math, see the cheapest cloud object storage comparison. This post is how you hook Wasabi into file.rocks so you can browse and upload without living in the Wasabi dashboard.
1. Create your Wasabi bucket
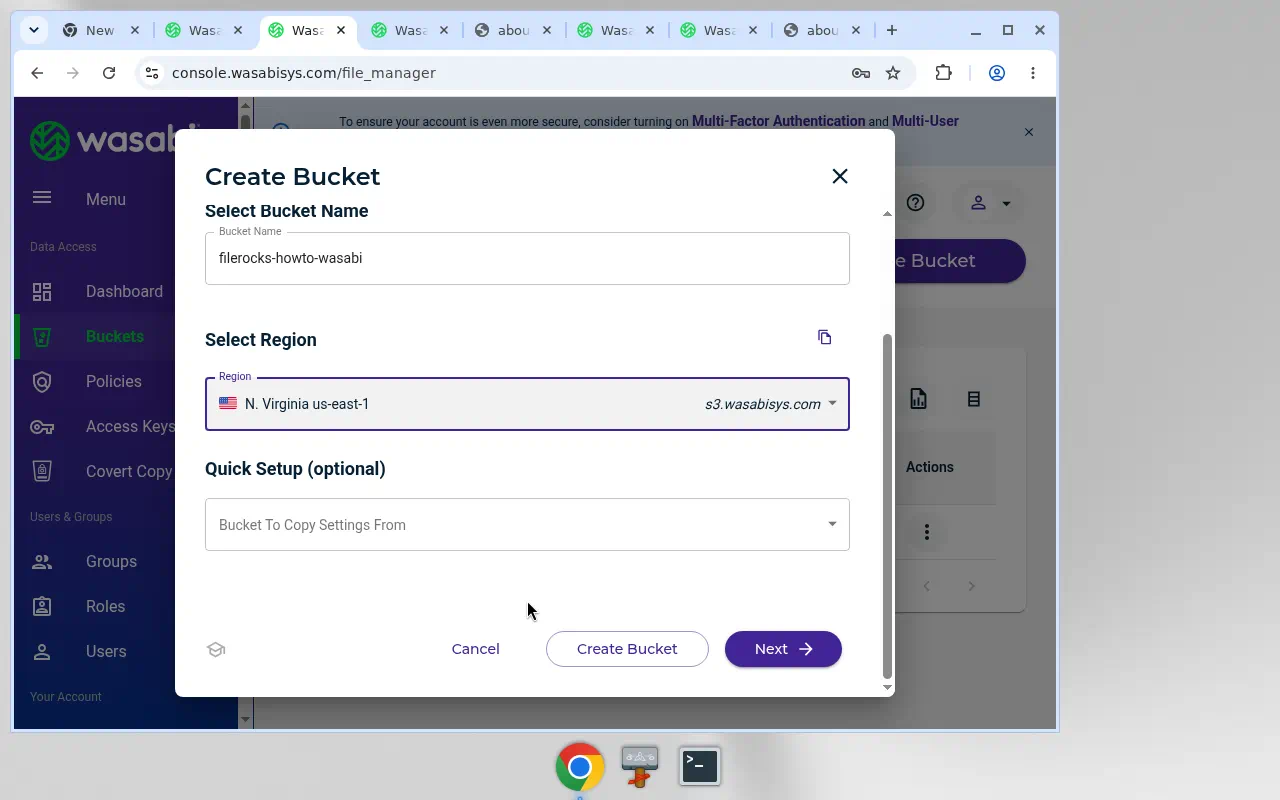
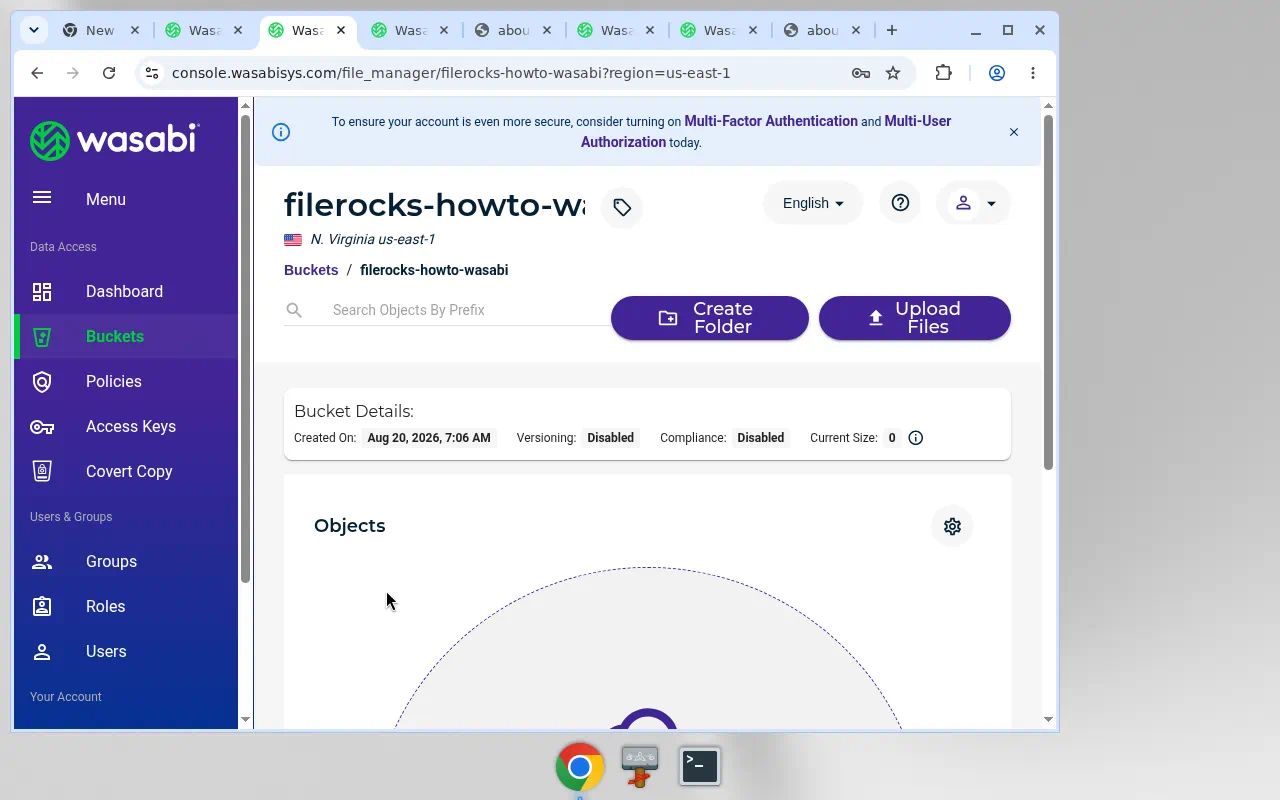
Open the Wasabi console and go to Buckets.
Click Create Bucket. Give it a name you'll recognize later. Pick a region and leave it. You will need that region again for the endpoint.
Copy the bucket name. You'll paste it into file.rocks in a minute.
2. Make an access key and secret
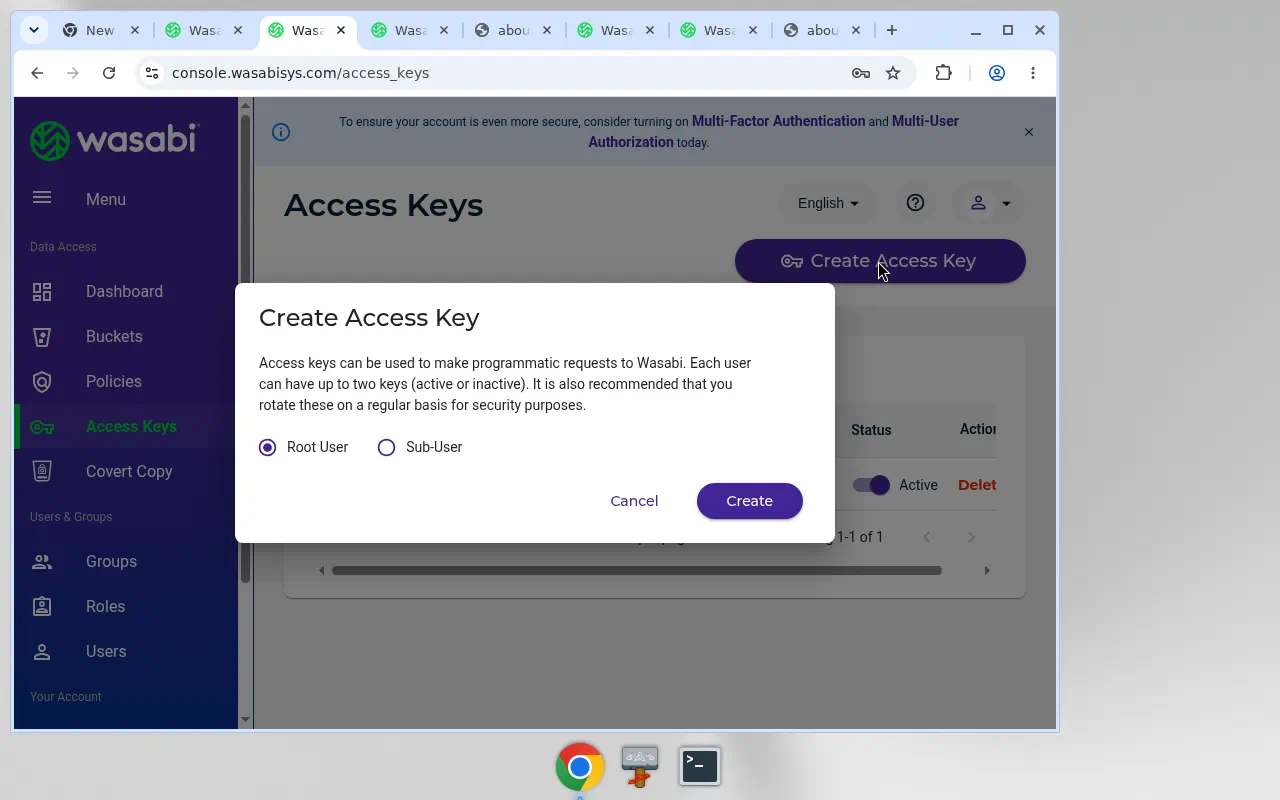
Wasabi uses a normal access key and secret. There is no B2-style master-key trap. A root key works.
Go to Access Keys and click Create Access Key. Leave it on Root User unless you already have a sub-user you want to use. Create.
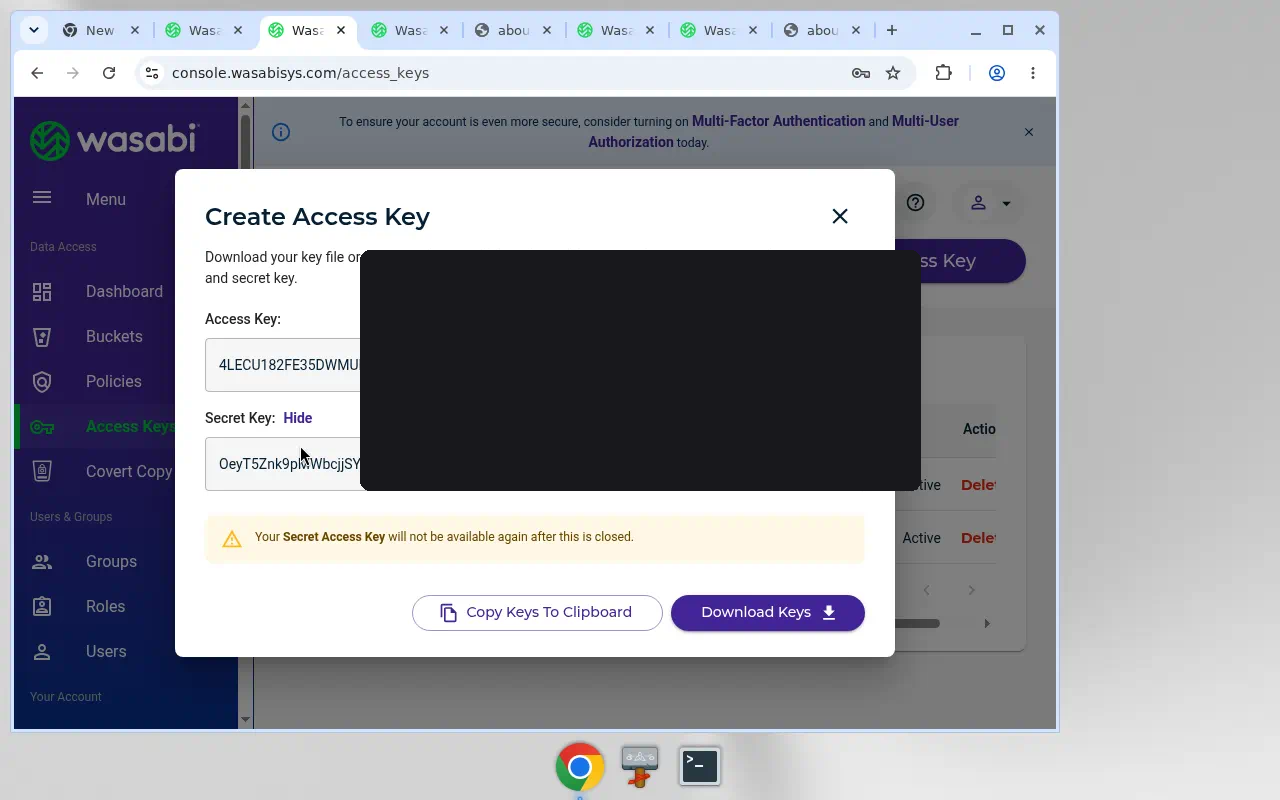
Wasabi shows the secret once. Copy Access Key and Secret Key. If you lose the secret you make a new key. An account can only have two keys per user, so don't mint extras you don't need.
3. Match the endpoint to the bucket region
This is the part that breaks if you guess. The region in file.rocks has to match the bucket, or signatures fail.
us-east-1 can use:
https://s3.wasabisys.com
Every other region uses:
https://s3.<region>.wasabisys.com
Examples: Oregon is s3.us-west-1.wasabisys.com. Amsterdam is s3.eu-central-1.wasabisys.com. Prefix with https://. The region field is the short code on the bucket (us-east-1, us-west-1, and so on), not the city name.
The console itself is always console.wasabisys.com. That URL is not the API endpoint.
4. Add the bucket in file.rocks
Go to file.rocks, sign in, and click Add a Bucket.
Choose Bring Your Own, then Wasabi. Paste:
- Bucket name
- Access Key
- Secret
- Endpoint
- Region
Save. You should see the bucket in the list.
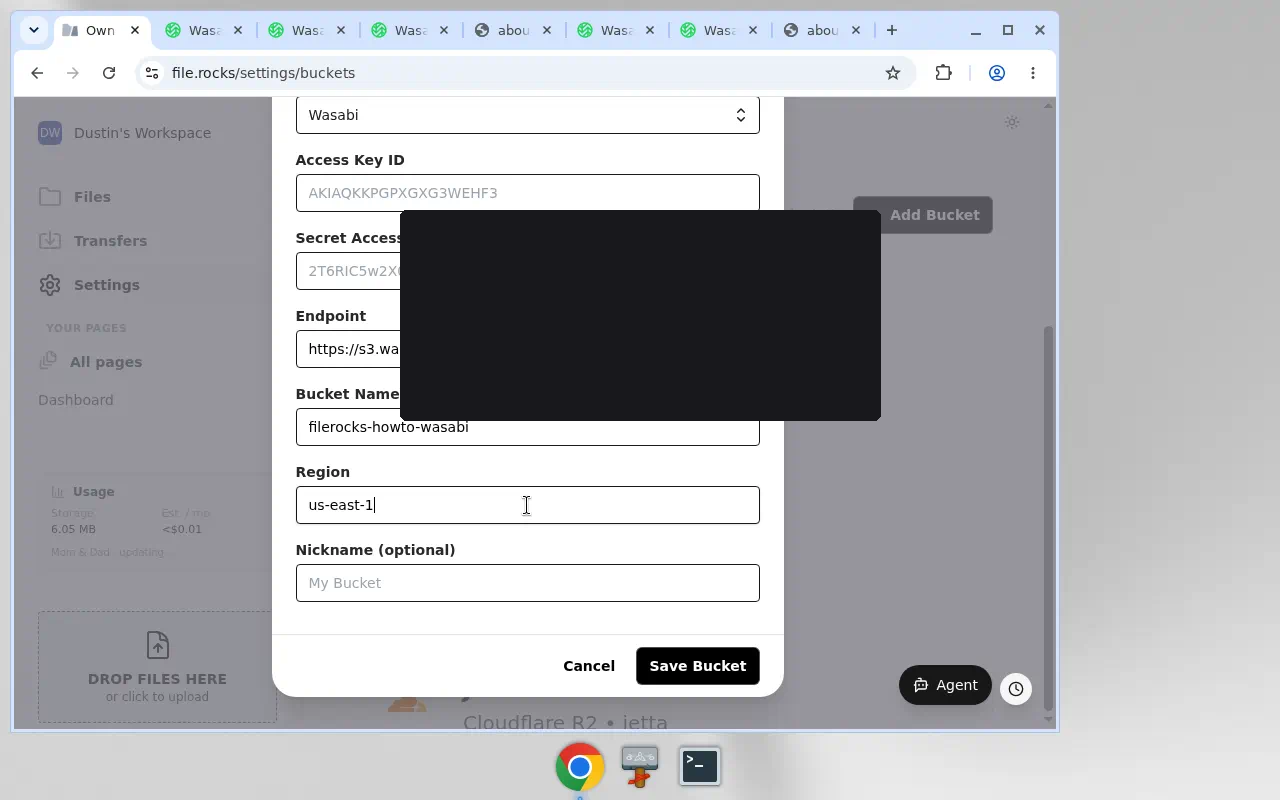
If you've connected S3, R2, or B2 before, this form is the same one. The Amazon S3 guide, Cloudflare R2 guide, and Backblaze B2 guide walk those paths. Wasabi just swaps the endpoint, and the region has to match.
5. Upload a file
Open Files and drop something in. If it lands, you're done. file.rocks is the UI now. Wasabi still holds the objects.
Want to compare storage prices across providers? See Cheapest cloud object storage. Don't redo the key work.